How To Fix The Black Screen Error On Windows 10
1. Black Screen While Installing Windows
Well, if you are installing fresh Windows 10, or upgrading the existing ones, then you need to check for the Black Screen. While installing Windows, if your computer is stuck at a black screen, then you need to find out if your computer is working or not. Consider some of the basic points given below to find out if your computer is really working or its stuck on the black screen.
- If you are booting from DVD drive, then check whether the DVD drive light is blinking. If it’s not, then you need to restart the installation.
- Check the Hard drive LED. If it’s blinking, then setup is running. You need to wait for a few more minutes or hours.
- If the Black screen is appearing after failed device driver installation, then boot into the safe mode and reinstall the driver.
- If the Black Screen is appearing at a certain point while installing Windows, then you need to remove all attached devices like Keyboard, Mouse, Ethernet Cable, Bluetooth, etc.
2. Update Your Drivers
Well, if your computer is throwing a random black screen of death errors, then you need to check for the driver updates. Outdated device drivers often trigger Black Screen errors leading to system failure. So, follow some of the simple steps given below to update your drivers.
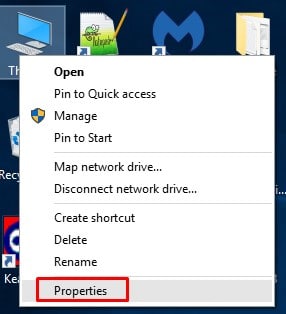
Step 1. First of all, right-click on ‘My Computer’ and select ‘Properties’
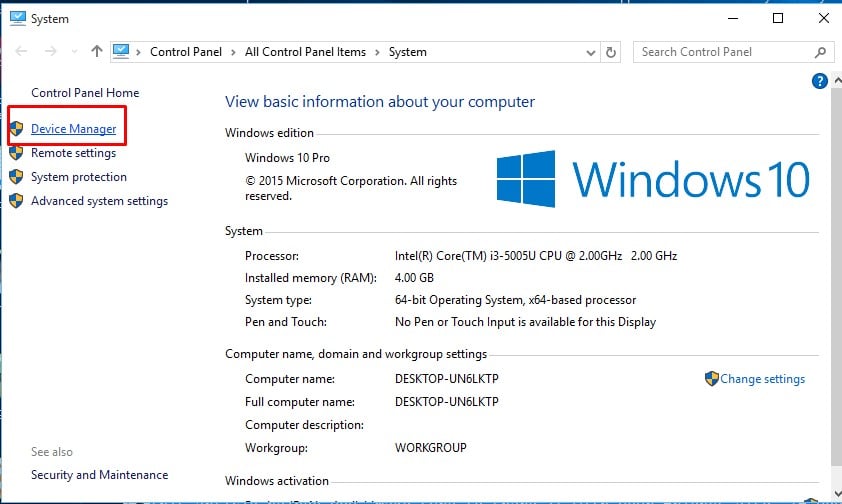
Step 2. Select ‘Device Manager’ from the left-hand side panel.
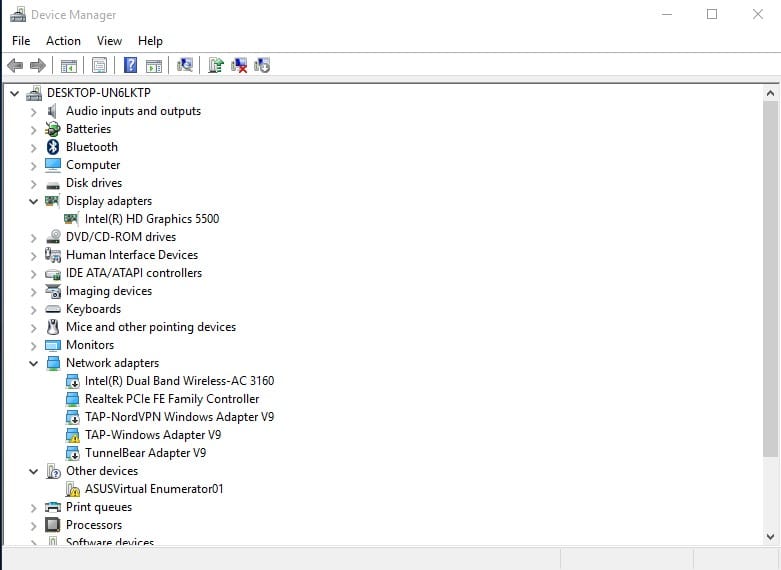
Step 3. On the Device Manager, check for the driver updates. Even if everything is alright, right-click on the ‘Display Driver’ and select ‘Update Driver’
That’s it! You are done. Now just restart your computer to apply the changes.
3. Check For the Running Process
Windows operating system runs lots of processes in the background. The infected process is often a leading cause behind the Black Screen errors. So, in this method, you need to check for the Running processes on the Task Manager.
Step 1. First of all, open the Start Menu and Search for ‘Task Manager’

Step 2. Open Task Manager from the List.
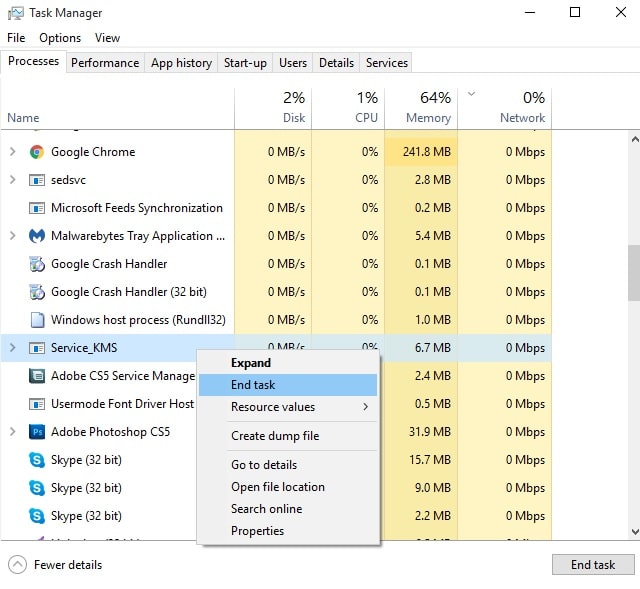
Step 3. On the Task Manager, you need to look for the unknown process closely.
Step 4. If you find any suspicious thing, right-click on it and click ‘Stop’
That’s it, you are done! Now use your computer normally and you won’t get Black Screen errors anymore.
4. Safe Mode To Troubleshoot Black Screen
Well, if the black screens are the root cause of the trouble, then you can use safe mode to resolve the issue. You actually need to perform a startup repair through the safe mode to resolve black screen at startup. Follow some of the simple steps given below to fix Black screen issues.
Step 1. First of all, boot into the Safe mode and then press the key to open the Advanced startup menu which is usually F7 or F8. Now pick Automatic repair from the list and select ‘Advanced Options’
Step 2. In the next page, click on ‘Troubleshoot’
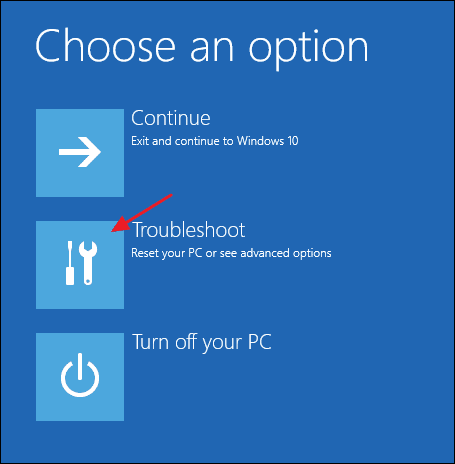
Step 3. Next click on the ‘Advanced Options’
Step 4. Now click on the ‘Startup Repair’
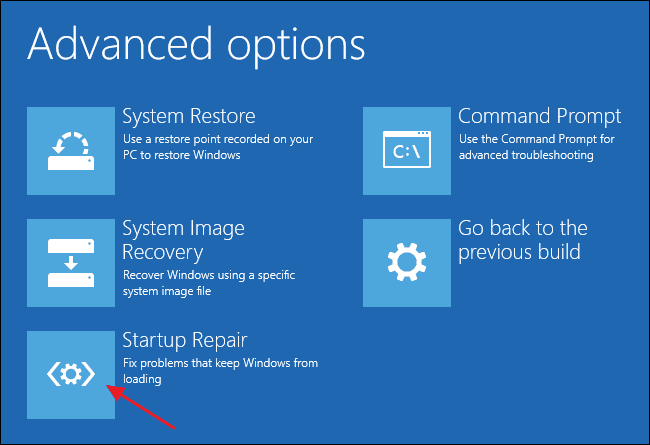
Step 5. There follow the on-screen instructions to resolve Black Screen errors.
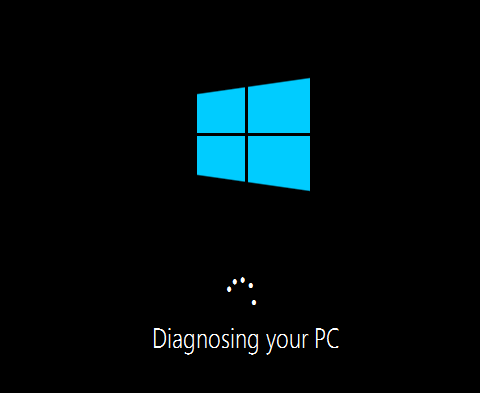
So, this how you can use Safe Mode to troubleshoot black screens on Windows 10.


0 Please Share a Your Opinion.: